Before we dive into the details of replacing your car’s weather seal replacement, let’s first understand what it is and why it’s so important.
Weather stripping seals are the rubber sealant applied to various parts of your car, like the door frames, windows, and trunk, to prevent air, water, and dirt from entering. It also helps reduce noise from the outside and keeps the interior of your car insulated. Over time, exposure to the sun, temperature changes, and everyday wear can cause the material to crack or degrade. When that happens, it’s essential to replace the stripping to maintain your vehicle’s integrity and comfort.
In this comprehensive guide, we’ll walk you through 7 expert tips for replacing car weather stripping, making it simple to restore your vehicle’s protection and performance.
What is Weather Seal Replacement and Why Are Weather Stripping Seals Important for Your Car?
Before we dive into the details of replacing your car’s weather stripping, let’s first understand what it is and why it’s so important.
Weather stripping is the rubber sealant applied to various parts of your car, like the door frames, windows, and trunk, to prevent air, water, and dirt from entering. It also helps reduce noise from the outside and keeps the interior of your car insulated. Over time, exposure to the sun, temperature changes, and everyday wear can cause the material to crack or degrade. When that happens, it’s essential to replace the stripping to maintain your vehicle’s integrity and comfort.
Why You Should Replace Worn-Out Weather Stripping
Worn-out weather stripping is more than just a cosmetic issue. If left unattended, it can lead to more serious problems. Here’s why replacing car weather stripping is so important:
- Prevents Water Leaks: Damaged weather stripping allows rainwater or snow to seep into the car, which could cause interior damage or mold growth.
- Improves Comfort: Worn weather stripping can cause drafts and increased road noise, making your ride less comfortable.
- Preserves Vehicle Longevity: By sealing your car properly, weather stripping protects internal components from corrosion or deterioration.
- Enhances Energy Efficiency: A good seal helps maintain the temperature inside your vehicle, reducing the load on your AC or heater.
Tip #1 – Recognizing the Signs Your Weather Stripping Needs Replacing

Before you begin weather seal replacement, it’s crucial to know when it’s time to make the change. Using tips for replacing car weather stripping, you can identify common signs of wear and tear. Look out for cracks, water leaks, drafts, or even excessive road noise when driving.
Common Symptoms of Worn-Out Weather Stripping Seals:
- Cracks or Tears: If you notice visible cracks, tears, or holes in the rubber or foam, it’s time to replace the weather stripping seals.
- Air Leaks or Drafts: A noticeable draft while driving, especially around the doors or windows, indicates that the stripping isn’t functioning properly.
- Water Leaks: If you find water pooling inside your car after it rains or during a car wash, it’s a sign that the seal is no longer effective.
- Increased Road Noise: If road noise becomes louder than usual, your weather seals may be allowing sound to enter the cabin.
How to Inspect Your Car’s Weather Stripping:
- Visual Inspection: Look for signs of wear and tear around the doors, windows, and trunk. Use a flashlight to examine the areas for cracks or holes that may be difficult to see during the day.
- Water Test: Spray water along the seals of the doors and windows. If you find water leaking inside, the stripping needs replacement.
Tip #2 – Essential Tools and Materials for a Successful Weather Seal
One of the best tips for replacing car weather stripping is to make sure you have all the necessary tools before you begin. Having the right materials ensures that the installation goes smoothly and lasts longer. Start by checking for any tools you may need, such as a flathead screwdriver, utility knife, and measuring tape.
Essential Tools for Your Weather Seal Replacement Job:
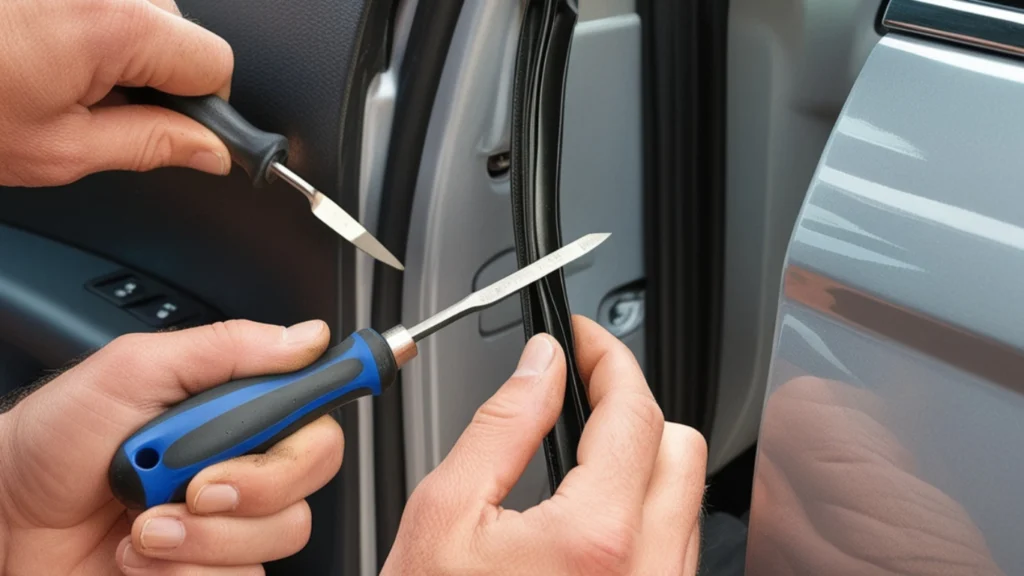
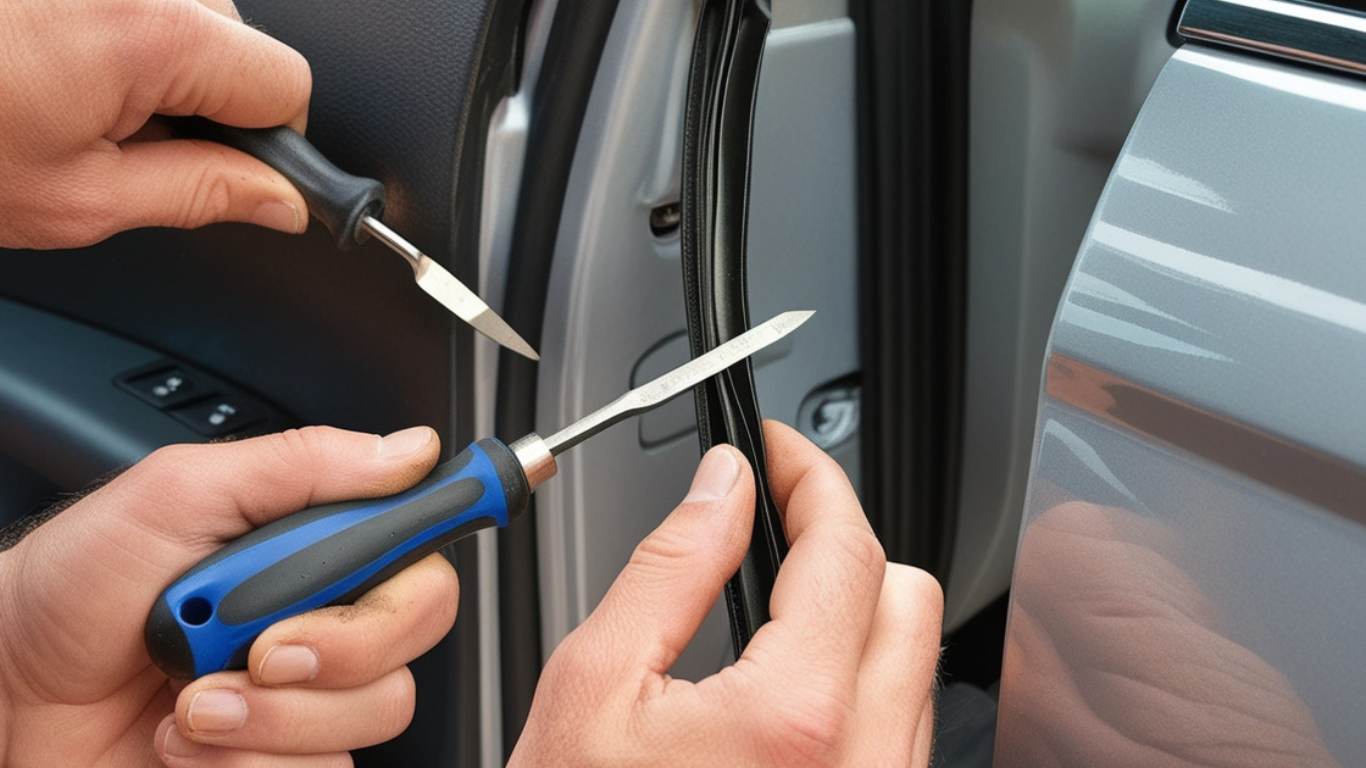
- Flathead Screwdriver: Useful for prying off old car door seals without damaging your car’s paint.
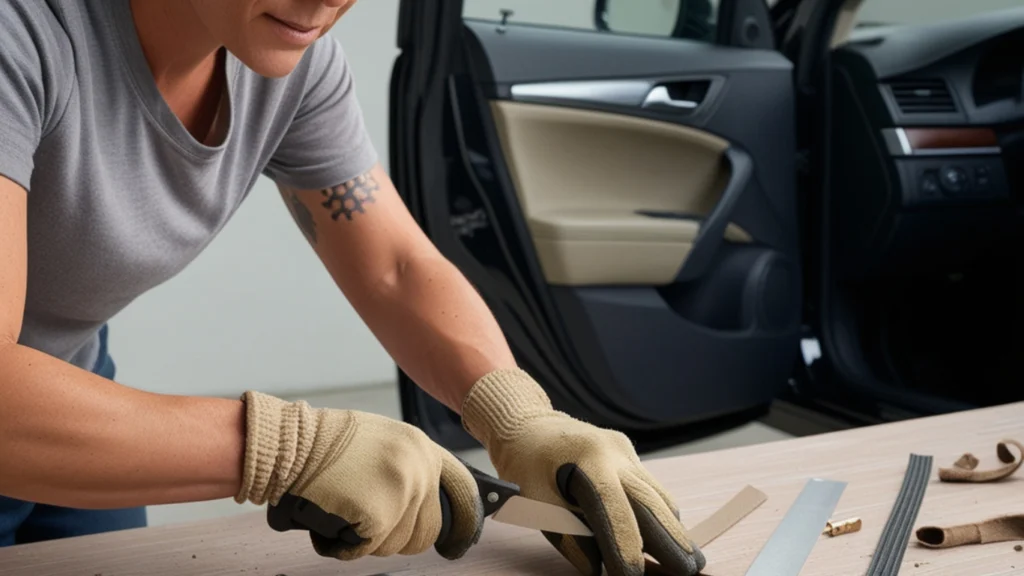
- Utility Knife or Scissors: These tools help you cut the new weather stripping seals to the right length.
- Measuring Tape: Ensure accurate measurements for a perfect fit.
- Adhesive: Some weather stripping may require adhesive for installation. Make sure to choose one suitable for automotive use.
Choosing the Right Replacement Weather Stripping Material:
When selecting new weather stripping, make sure it’s compatible with your vehicle’s make and model. There are various materials available, such as:
- Rubber: Durable and effective at creating a strong seal, ideal for most cars.
- Foam: Typically used for softer seals or in areas with less pressure.
- Silicone: A great choice for extreme weather conditions, as it holds up well in both heat and cold.
Choosing the right material will ensure that your weather stripping performs well and lasts for a long time.
Tip #3 – How to Safely Remove Old Weather Stripping Seals from Your Car

Removing old weather stripping can be tricky, but it’s necessary to make way for the new material. Here’s how to do it properly:
Step-by-Step Instructions for Safe Removal:
- Start with the Corners: Use a flathead screwdriver to gently pry up the old weather stripping starting at the corner.
- Peel Away Slowly: Work your way around the door or window, pulling the stripping away slowly. Avoid using excessive force to prevent damage to your car’s paint.
- Clean Residue: Once the stripping is off, use an adhesive remover or a solvent to clean up any sticky residue left behind. This ensures the new weather seal replacement sticks properly.
Avoiding Common Mistakes:
- Don’t Rush the Process: Be patient to avoid damaging your car’s surface. Rushing can lead to scratches or scuff marks.
- Don’t Use Sharp Tools: Never use sharp or metal tools directly on the paint. This can cause permanent damage to your car’s finish.
Avoiding Common Mistakes:
- Don’t Rush the Process: Be patient to avoid damaging your car’s surface.
- Don’t Use Sharp Tools: Never use sharp or metal tools directly on the paintwork. This could cause scratches or permanent damage.
Tip #4 – Step-by-Step Guide to Installing Your New Weather Stripping Seals

Installing the new weather stripping seals is one of the most crucial parts of the replacement process. With these tips for replacing car weather stripping, you can follow the right steps to ensure the seal is tight and long-lasting. Measure, cut, and install carefully to avoid leaks and drafts.
Steps to Install New Weather Stripping Seals:
- Measure and Cut: Before you start installing the new weather seal replacement, measure the length needed for each section (doors, windows, or trunk). Use a utility knife or scissors to cut the weather stripping to the correct length.
- Clean the Surface: Ensure the area where you’ll place the new weather stripping is clean and dry. This ensures a strong adhesive bond if required.
- Apply Adhesive (if necessary): If the new stripping requires adhesive, apply a thin layer to the edge of the car door seals before installation.
- Press and Secure: Begin placing the new weather stripping along the edges of the door or window frame. Press firmly to secure it in place, making sure there are no gaps or overlaps.
How to Cut the Weather Stripping:
Use a sharp utility knife or scissors to cut the weather stripping to the measured size. Ensure you make clean, straight cuts to ensure the strips fit neatly against the edges of your car’s doors or windows.
Tip #5 – How to Ensure a Tight Fit with Your New Weather Seal Replacement
After installing the new weather stripping seals, it’s important to test your work to make sure the seal is effective.
How to Test for Leaks:
- Water Test: Spray water along the edges of the newly installed car door seals. Check inside the car for any leaks or water seepage. If you notice any water coming through, adjust or reposition the stripping as needed.
- Visual Inspection: Check for gaps or uneven placement along the edges of the weather stripping seals. Ensure the material is tightly sealed and aligned with the door or window frame.
Tip #6 – Common Pitfalls to Avoid During Your Weather Stripping Seals Replacement
Proper maintenance is key to extending the life of your new weather seals. Here are some maintenance tips to keep your car door seals in good condition:
- Clean Regularly: Use a soft cloth to clean the weather stripping seals, removing dirt and debris that can cause wear.
- Lubricate the Rubber: Apply a silicone-based lubricant or rubber conditioner to keep the material flexible and prevent cracking.
- Inspect Frequently: Check your weather seal replacement every few months for signs of wear or damage. This proactive approach can help you catch problems early and avoid costly repairs.
Tip #7 – How to Maintain and Extend the Lifespan of Your Car Weather Seals
While replacing car weather stripping is a straightforward DIY task, there are instances where it’s best to seek professional help:
- Severe Damage: If your car’s door frame or window structure is damaged, replacing the weather seals may not be enough to create a proper seal.
- Difficulty in Removal: If the old weather stripping is too difficult to remove or if there’s significant adhesive residue, a professional can handle the task more effectively.
- Customization: For specialized or custom vehicles, professional help ensures that the right materials and techniques are used for the replacement.
Conclusion: How Proper Weather Seal Replacement Improves Your Car’s Comfort and Efficiency
By following these 7 expert tips for replacing car weather stripping, you can restore your vehicle’s ability to keep out drafts, water, and noise, ensuring a more comfortable and efficient driving experience. Weather seal replacement not only saves you money but also helps preserve the longevity of your vehicle. Replacing weather stripping seals is a straightforward task that offers long-lasting benefits. Don’t wait until it’s too late—follow these tips for replacing car weather stripping and keep your ride sealed, quiet, and dry.
Frequently Asked Questions About Tips for Replacing Car Weather Stripping
1. How do I know if my car’s weather stripping needs replacing?
If you notice air drafts, water leaks, or increased road noise, it’s likely that your weather stripping seals are worn out and need replacement. One of the most important tips for replacing car weather stripping is to conduct regular inspections. Look for visible cracks, tears, or areas where the seals are no longer tightly adhered to your vehicle. If your car is not keeping the rain, wind, or noise out as it used to, it’s time to replace the car door seals.
2. Can I replace the weather stripping on my own, or do I need a professional?
Yes, replacing car weather stripping is a relatively simple task that most car owners can do themselves with the right tools. One of the best tips for replacing car weather stripping is to make sure you gather all the necessary materials before starting, including adhesive, a utility knife, and measuring tape. If you follow the step-by-step guide provided in this article, you’ll be able to replace your weather seal replacement without any hassle.
3. What type of weather stripping material should I choose for my car?
When choosing the right material for your weather seal replacement, you should consider the climate and your vehicle type. Rubber is the most commonly used material for car door seals, but for extreme weather conditions, silicone or foam may be better options. These materials provide enhanced durability and flexibility, especially in areas that experience extreme temperatures. Make sure to choose a material compatible with your vehicle’s make and model for the best results.
4. How long does it take to replace car weather stripping?
Replacing car weather seals typically takes 1-2 hours, depending on the size of the area you’re working on. The process involves removing the old seals and applying the new ones carefully. Following the tips for replacing car weather stripping, you can speed up the process by ensuring you have all the required tools and materials before you start.
5. How often should I replace my car’s weather stripping?
While there’s no fixed schedule for replacing weather stripping seals, it’s important to inspect them regularly for signs of wear and tear. If you notice any issues like leaks, drafts, or noise, consider replacing your weather seals as soon as possible. Typically, weather seal replacement is needed every 3-5 years, depending on exposure to the elements.
6. Can weather stripping affect my car’s energy efficiency?
Yes, worn-out weather seals can affect your car’s energy efficiency. If your seals are damaged, your car’s heating and cooling systems have to work harder to maintain the desired temperature. By following tips for replacing car weather stripping, you can keep your vehicle properly sealed, reducing the workload on your air conditioning or heating system and improving overall energy efficiency.


You have brought up a very superb points, appreciate it for the post.
I could not refrain from commenting. Very well written!
thank you very much and you are welcome
Hi there, I check your blog on a regular basis. Your writing style is awesome, keep doing what you’re doing!
thank you for your support
Much needed clarification on this topic.
okay ,I will make another article in this topic
Thanks for making this accessible to beginners.
thank you too and you are welcome
Appreciate the content you put out!
thank you very much and you are welcome
Thanks for the tips!
you are welcome